Footwear choices · 11 min read
Hiking boots, shoes or trail runners: how to choose for the route
Choose footwear by terrain, weather, load, fit and your own experience instead of treating boots and trail runners as opposing teams.
The useful takeaway
The right footwear is the model that fits your feet and the route’s demands—not the heaviest, lightest or most fashionable category.
Choose for the trail, then for your feet
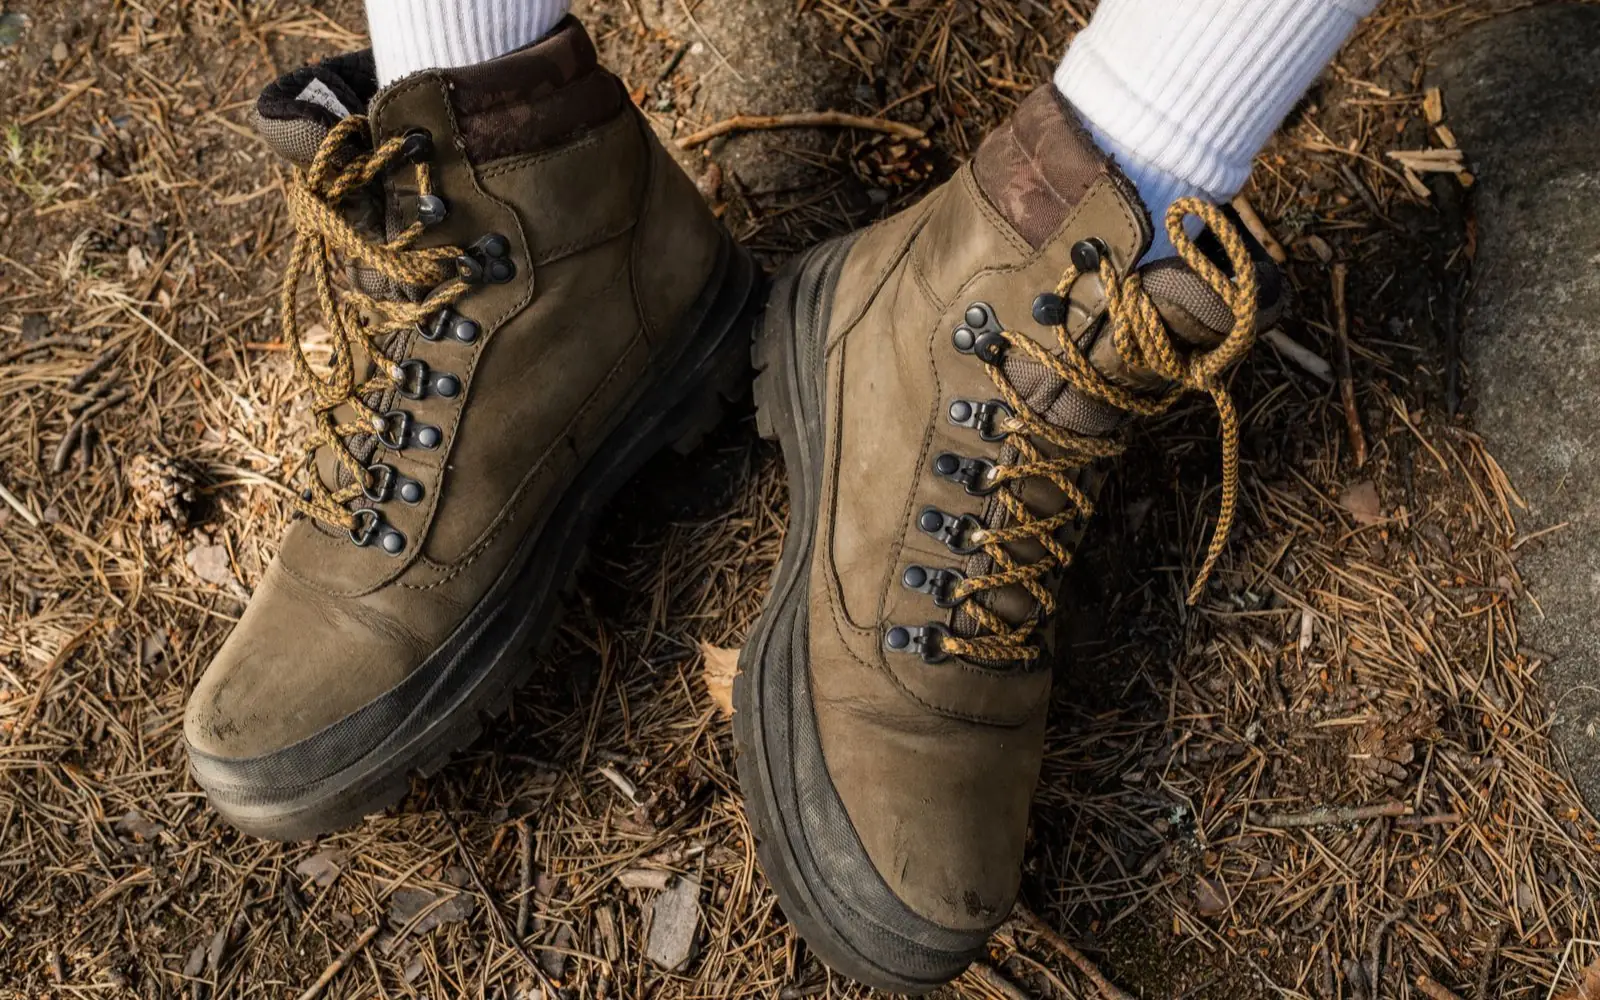
Footwear categories are useful descriptions, not verdicts. Boots often offer a more structured upper, more protection and a stiffer platform; they can also be heavier, warmer and slower to dry. Hiking shoes sit in a broad middle ground. Trail runners are often lighter, flexible and breathable, but their protection, traction and structure vary substantially by model.
Start with the route: loose rock, repeated roots, long descents, mud, water crossings, scrambling, cold, heat and the load you will carry. Then account for how you move and what fits your foot. REI’s footwear guidance makes the same core point: where, when and how you hike affects the choice. No category guarantees comfort or prevents an injury.
- For smooth, dry and well-maintained trails, a lighter shoe may be plenty if it fits and has suitable traction.
- For rough, abrasive terrain or a heavier load, prioritize a stable platform, foot protection and control over a category label.
- For a new environment, test the exact footwear on shorter comparable ground before a long or remote day.
Understand the useful trade-offs
Boots can bring durable uppers, toe and rock protection, warmth and a more substantial feel under a pack. Their weight and reduced flexibility can be tiring for some hikers, and waterproof versions can retain water after a deep crossing. Hiking shoes can provide much of the outsole and protection of a boot in a lower profile, while still varying from soft and flexible to quite structured.
Trail runners can feel fast and airy and may dry more quickly when they get wet, especially in non-waterproof fabrics. That does not make every trail runner suitable for off-trail rock or every boot necessary for a long route. Check the actual outsole, protection, upper durability and fit; a shoe’s marketing category is only the beginning.
Treat waterproofing as a condition-specific choice
A waterproof membrane can be welcome in persistent rain, wet vegetation, slush or shallow puddles, particularly when the route lets you keep water out from above. It can also reduce breathability, and once water enters over the collar or through a prolonged crossing it may take longer to leave. In warm conditions or routes with unavoidable deep water, a faster-draining non-waterproof option can be more practical.
Match the decision to the expected wetness, temperature, pace and exit options. A damp local loop permits experimentation. A cold, wet traverse with few shelters needs a more conservative system that includes socks, spare insulation and a route plan, not just a membrane.
Fit and traction outrank the category debate
A well-chosen boot can still fail the day if the heel slips, toes hit the front on descent or the forefoot is squeezed. Try footwear with the socks you hike in, leave appropriate room for downhill movement and walk on an incline if possible. Lacing can change heel hold and pressure, but it cannot convert a poor shape match into a good one.
Check traction for the surface you expect, not just how aggressive the lugs look in a shop. Wet rock, slick roots, mud, snow and dry dust demand different things. Footwear supports a careful pace and foot placement; it does not make unstable ground safe. If a route requires specialist traction or mountaineering equipment, follow the official local guidance rather than improvising with ordinary hiking footwear.
- Bring footwear that is already broken in enough to reveal friction points.
- Check the outsole for wear before a long trip.
- Build in time to change socks, relace or turn around if fit is deteriorating on the trail.
Let experience inform—but not overrule—the route
Personal history, including a previous ankle issue, may inform what feels stable and familiar, but it is not a reason to make broad medical claims about boots, shoes or trail runners. If you need individual medical advice or a return-to-activity plan, seek an appropriate professional. On the trail, choose footwear you can control confidently on the actual terrain and adjust the route if that confidence is not there.
The goal is a quiet system: feet that stay comfortable enough to notice the trail, footwear that matches the day and a plan that does not depend on gear overcoming a poor route choice. The blister guide can help you test that system before friction takes over the day.
Turn the topic into a practical decision
Footwear choice should match fit, terrain, load, weather and your movement preferences rather than a rule that one category is always safer. The useful habit is to make that decision before the route starts demanding attention. Write down what you expect, what evidence supports that expectation and what would make you change course. A guide becomes valuable when it helps you notice the moment when the original assumption no longer matches reality.
Use route-specific facts rather than identity or confidence. Experience matters, but it does not cancel weather, terrain, daylight, equipment limits or a group member having a different day than expected. Build a plan that can absorb one ordinary problem without immediately becoming urgent. If the plan only works when pace, conditions and equipment all perform perfectly, reduce the objective or increase the margin.
For repeat use, keep the decision simple enough to apply under fatigue. A short written rule is better than a vague intention: identify the trigger, the safe response and the latest point where that response remains easy. That approach also makes group communication clearer because everyone knows what would cause a pause, a change of route or a turnaround.
- Prioritise fit with the socks and foot volume you will actually use.
- Test heel hold and toe room on descents, not only flat shop floors.
- Match outsole grip and underfoot protection to expected surfaces.
- Consider drying time and waterproofing in the actual climate.
- Account for pack load and ankle history without assuming a higher boot automatically prevents injury.
- Break in unfamiliar footwear before a committing route.
Reassess while the hike is happening
Pre-trip planning is only the first pass. Once moving, compare the actual day with the assumptions you made at home. Conditions, pace, energy, water, visibility, surface and group confidence are live data. Small deviations are normal; several deviations pointing in the same direction deserve action before they compound.
Feet give early feedback; deal with pressure, rubbing and lacing issues before they become blisters or altered gait. The strongest signal is often a trend rather than one dramatic event: breaks getting longer, navigation taking more time, layers staying wet, feet becoming progressively sore or the group reaching checkpoints later than planned. Use those trends to protect the later part of the route rather than spending all available margin early.
At major junctions, before exposed sections and before committing to a long return with fewer exits, stop for a deliberate check. Ask whether the route still fits the group, whether the weather window still exists and whether food, water, warmth, daylight and concentration are adequate for the next segment as well as the return.
- Retie laces if the foot slides on descents or pressure builds on the instep.
- Stop at the first hotspot rather than waiting for pain.
- Change wet socks when practical and drying margin matters.
- Remove grit or debris quickly.
- If footwear becomes structurally damaged, shorten before the problem worsens.
- Notice whether fatigue is causing toe impact or loss of foot placement on rough terrain.
Worked scenarios to practise the judgment
Scenario 1: A hiker is choosing between lightweight trail runners and a waterproof boot for a wet but non-technical valley route. The point is not to memorise one answer for every future hike. Identify which variable changed, what information would confirm it and which option preserves the most margin. Practising that reasoning before a real problem makes it easier to act calmly rather than defend the original plan because of time already invested.
Scenario 2: A rocky multi-day route carries a heavier pack and includes long descents. The point is not to memorise one answer for every future hike. Identify which variable changed, what information would confirm it and which option preserves the most margin. Practising that reasoning before a real problem makes it easier to act calmly rather than defend the original plan because of time already invested.
Scenario 3: A hot dry trail has stream crossings where waterproof footwear may retain water after overtopping. The point is not to memorise one answer for every future hike. Identify which variable changed, what information would confirm it and which option preserves the most margin. Practising that reasoning before a real problem makes it easier to act calmly rather than defend the original plan because of time already invested.
Scenario 4: A familiar shoe fits well on flat ground but toes hit the front on steep descents. The point is not to memorise one answer for every future hike. Identify which variable changed, what information would confirm it and which option preserves the most margin. Practising that reasoning before a real problem makes it easier to act calmly rather than defend the original plan because of time already invested.
Common mistakes and better alternatives
Most mistakes around this topic are not caused by a complete absence of knowledge. They happen when one useful rule is applied too broadly, when a warning sign is noticed but postponed, or when the group continues because changing the plan feels inconvenient. Replace rigid rules with a repeatable process: observe, compare with the plan, decide while several safe options remain, and communicate the change clearly.
After the hike, review the mismatch between expectation and reality. Record what was useful, what was unnecessary, which assumption failed and what you would change next time. That turns one day outside into calibration for future route choices instead of relying on memory or copying someone else’s system.
- Buying a category instead of solving a fit problem.
- Assuming waterproof footwear keeps feet dry in every condition.
- Choosing excessive stiffness for terrain that does not need it.
- Ignoring sock thickness when sizing.
- Taking brand-new footwear directly onto a long route.
- Changing both footwear and sock system at the same time before an important trip.
Quick-reference questions
Use these questions as a compact review before a similar trip. They are deliberately practical rather than exhaustive. Local rules, current official information and individual medical or technical needs always take priority over a general guide.
- Question: Are boots safer than trail runners? Answer: Not universally; fit, terrain, load, support needs and conditions determine the trade-off.
- Question: Do I need waterproof footwear? Answer: It can help in some wet or cold conditions but may be warmer and slower to dry after water enters.
- Question: How much toe room is enough? Answer: Enough to avoid impact on descents without allowing uncontrolled sliding; individual fit matters.
- Question: Should I size up automatically? Answer: No fixed rule replaces trying the footwear with intended socks and downhill movement.
- Question: When should I replace shoes? Answer: When fit, structure, outsole or cushioning no longer performs safely for the terrain you use.
Sources & further reading
These sources informed the planning guidance in this guide. Check official local information for your specific trail and conditions.
- Hike Smart
National Park Service — Route-aware equipment and appropriate footwear baseline.
- Hiking Boots vs. Trail Runners: The Great Debate
REI Co-op — Footwear trade-offs across terrain, load, weather and fit.